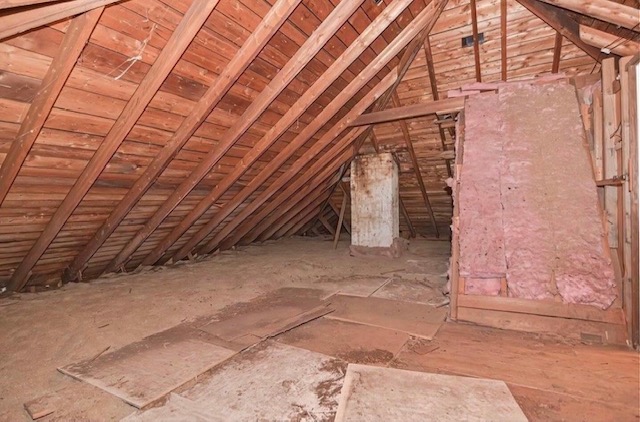
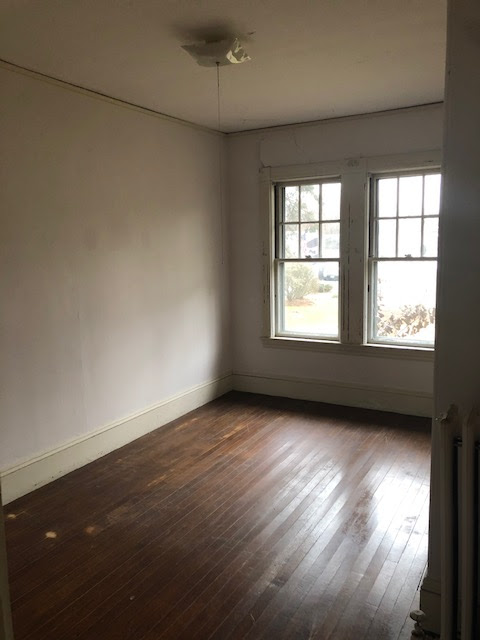
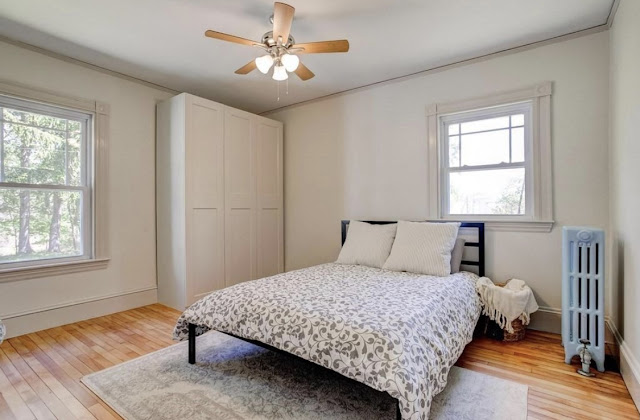
We decided not to do drywall on the ceiling because the room would just be a little too white. So we used more of the beadboard that we used in the kitchen as well as shiplap. The closet space we left untouched so that the buyer can customize it to their liking, whether that mean shelves or racks. I really hope that whoever buys this home appreciates what we did and how we transformed the second floor into a livable space.
Design + Renovation + Staging
Wednesday, May 18, 2022
Stow Bungalow - Upstairs Bedroom
Tuesday, May 17, 2022
Stow Bungalow - First Floor Bedrooms Revealed
This room (below) faces the street with three big windows and still felt drab. And now the room feels so bright and big with room for a dresser and a desk. I also should add, though I lack pictures of it, that all three bedrooms were connected by doors so those door were removed and drywall was put in place of them to give actual division between bedrooms.
Lastly, the blue bedroom, which had a couple of Tom Sellick posters on the closet door and was very... blue. We had to borrow the closet to run electrical and plumbing to the second floor so instead it now has new closets which are actually bigger than the original closet. And there's still wall space for a dresser or desk. Everyone wins.
~ Stephanie
Monday, May 16, 2022
Stow Bungalow - Bathrooms Revealed
When the walls were opened I asked my dad if we could keep the nook vaulted. Even just adding a little bit more height to the ceiling makes a big difference. And now that these windows aren't boarded over they let in so much light throughout the day so this bathroom is never dark.
I chose a dramatic marble-like porcelain for the shower and because of that I wanted a simple floor tile that would make the space feel warm and bright in contrast. I fell in love with this sand-colored floor tile while perusing the store and would happily use it again. It made such a difference in this room and matched the wall colors perfectly.
Sunday, May 15, 2022
Stow Bungalow - Living Room Reveal
So immediately the partition wall had to come down. It wasn't even to the ceiling! Then the carpet came up and we quickly realized that as big as the space was, there was nothing particularly special about it. So, my dad created a coffered ceiling to add some character and I think it feels like it should have been there all along.
There is so much that can be done with this space to entertain guests or just create the coziest living room with bookshelves and a sectional, etc. But at least how I staged it gives you an idea of what can be done. And anything is better than how it was five months ago. At the bare minimum there's no longer a carpet harboring 50+ years of detritus within its fibers.
Friday, May 13, 2022
Stow Bungalow - Kitchen Reveal
So. The carpet was hiding original hardwoods, which we had sanded and restained. The carboard-esque ceiling tiles were holding up a LOT of mouse poop and skeletons and also no insulation. And then there was faux wood paneling and vinyl-patterned pieces above that needed to come out, be insulated, and drywalled. But let's talk about the cabinets. This was a small kitchen, or at least the layout made it feel small. But the space in its entirety isn't tiny. It just needed rearranging and also a new pass-through to the dining room.
Along the back wall (below) we added a second window to balance the sight lines out to the pond in the back yard. Already there was so much light coming in throughout the day but why not add a little bit more. When we discussed what to do about the ceiling after tearing out the cardboard tiles I suggested beadboard. We had done that in the sunroom of the 1850s Homestead and I'd been obsessed with how it turned out, so why not do that again. Also, since we were planning to do white cabinets I thought it would be nice to have something to balance white cabinets, white walls, etc. I love a white, clean room, but if everything is white it can feel very cold and sterile. Installing the beadboard ceiling took my father and I two days and hurt my neck for a couple days, but was well worth it for the end result.
Let's talk about the back wall. The original owner had a table and chairs there. Technically there's still space for that, but as a former dancer, I love a kitchen with enough room to do fouettes. I liked the idea of having cabinets different from the rest of the kitchen, something that stood alone but still fit into the overall look of the house. So painting them to match the fireplace, stairs, and hutch doors was a no-brainer. Admittedly, I have never liked waterfall countertops. To me it feels like a waste of granite/quartz/marble to put them on the sides. But what about waterfall butcher block? Now that I can get onboard with. And then, as one of my girlfriends put it, "a signature Stephanie Blackburn" - open shelves. I love a display wall, what can I say?
I suppose another Blackburn signature is the marble we repeatedly use for kitchen backsplashes. There are so many options for tile now, but we continually use this one because it goes classically with every countertop and unlike certain patterned tile, it won't look dated in a year or ten.
I would also be remiss not to mention that during demo I uncovered a boarded up pass-through from the built-in hutch in the dining room to the kitchen counter. I don't know that the buyers will ever use it, but as it was original to the house I felt it should be restored (plus, it's cute). There wasn't trim on the kitchen side of it so my father cut new trim and stained it to match the original pieces on the interior of the hutch.
I really hope buyers will appreciate the transition this kitchen has made and cook many a delicious meal here (at least on my behalf).
~ Stephanie


